 Pin It
 The first time I attempted a Betty Boop cake, I stayed up until 2am trying to get those eyelashes just right, squinting at reference photos on my phone while black fondant dried out on the counter. My roommate walked in, took one look at the chaotic kitchen covered in red food coloring splatters, and asked if I'd started a small craft business in the dining room. When the cake finally came together the next morning—red layers stacked, that iconic silhouette framed against the buttercream—I understood why people dedicate entire weekends to this kind of baking. It's not just dessert; it's edible nostalgia that makes everyone at the table grin, even the people who've never watched a single cartoon.
I made this for my niece's 12th birthday last spring, and she actually gasped when I carried it out from the kitchen. The birthday girl had been obsessed with vintage cartoons for months, poring over old animation books and drawing Betty Boop in the margins of her homework. Something about seeing a childhood icon rendered in cake and frosting—that perfect red唇, the glossy black hair, those impossibly white eyes—made the whole room light up. Her older brother, who usually pretends to be too cool for birthday parties, asked if I could make him a Spider-Man version next year, which I'm taking as a massive compliment.
Ingredients
- All-purpose flour: The backbone of that tender red velvet crumb—measure by weight if you can for consistent results
- Red gel food coloring: Liquid coloring will throw off your batter ratios, and gel delivers that impossibly deep, cartoonish red we're after
- Cream cheese: Must be completely room temperature or you'll end up with lumpy buttercream and no amount of beating will fix it
- Black fondant: Knead it thoroughly before rolling or you'll see cracks in the hair silhouette where you least expect them
- White fondant: Keep extra cornstarch handy—this stuff picks up every speck of dust and the eyes need to be pristine
- Red fondant: A little goes a long way for those lips and the headband, so don't worry if you have leftover for another project
Tired of Takeout? 🥡
Get 10 meals you can make faster than delivery arrives. Seriously.
One email. No spam. Unsubscribe anytime.
Instructions
- Prep your pans and heat the oven:
- Line those 8-inch rounds with parchment and grease them thoroughly—red cake sticks like nothing else when you're rushing and cutting corners
- Whisk the dry ingredients together:
- Flour, baking powder, and salt in one bowl, set aside while you focus on getting your butter to perfect room temperature
- Cream butter and sugar until fluffy:
- This takes about 3 full minutes on medium speed—don't rush it, because those air bubbles are what make the cake tender instead of dense
- Add eggs and vanilla:
- One egg at a time, beating well after each addition, then pour in that vanilla extract while the mixer is still running
- Alternate flour and milk:
- Start and end with the flour mixture, three additions total, scraping down the bowl so nothing gets stuck at the bottom
- Add that shocking red color:
- Pour in the gel coloring and mix until the batter looks uniformly red—add more if it's reading more pink than cartoon red
- Bake until a toothpick comes out clean:
- 25 to 30 minutes at 350°F, but rotate those pans halfway through or you'll have one layer taller than the other
- Cool completely before frosting:
- Let them rest in the pans for 10 minutes, then flip onto wire racks—warm cake will melt your buttercream into a slide-off mess
- Make the cream cheese buttercream:
- Beat cream cheese and butter until smooth, then gradually add powdered sugar one cup at a time so you don't end up in a sugar cloud
- Level and stack the layers:
- Trim any domes with a serrated knife so the cake sits straight, then layer them with buttercream between
- Apply crumb coat and chill:
- A thin layer of buttercream all over, then 20 minutes in the fridge to set—this step keeps red crumbs from showing through your final coat
- Add final buttercream layer:
- Use a cake scraper or offset spatula to get those sides smooth and the top perfectly flat
- Roll out the black fondant:
- Dust your counter with cornstarch, roll to about 1/8 inch thick, and cut Betty's signature hair silhouette
- Create the facial features:
- White circles for eyes, tiny heart highlights, red lips—cut them carefully and keep them on parchment until ready to place
- Assemble the face:
- Position the hair on the front of the chilled cake, attach eyes and lips with tiny dabs of buttercream, add eyelashes and eyebrows
- Add finishing touches:
- Roll that red fondant headband coil, maybe some edible sparkles or a sugar flower, then let the whole thing rest for 30 minutes before serving
 Pin It
 After that birthday party, my niece texted me a photo she'd drawn of the cake, adding it to her sketchbook of Betty Boop poses. Something about transforming a two-dimensional cartoon into something you can slice and serve creates this delightful confusion in people's brains—like seeing a childhood memory come to life in 3D. Her mom told me later that the birthday girl kept a slice in the fridge for two days, showing it to everyone who came over like a trophy.
Working With Fondant
Fondant behaves differently depending on the weather and your hands. On hot days, it gets soft and sticky; on dry days, it cracks and dries out faster than you can work. Keep a small bowl of water nearby for smoothing rough edges, and always have extra cornstarch on hand—like, more than you think you need. The black fondant especially shows every fingerprint and imperfection, so work with light pressure and let it rest if it starts fighting back.
Getting That Red Right
Red cake is one of those things that looks easy until you pull yours out of the oven and it's somehow pinkish-orange. Gel coloring is non-negotiable here—liquid coloring adds too much moisture and throws off your ratios. I add the gel with a toothpick, mixing completely before adding more, because you can always deepen the color but you can't take it back. The batter should look almost too red, like something that came out of a cartoon itself.
Stacking And Stability
Two layers might not seem like much, but once you add buttercream and fondant decorations, this cake gets heavier than you'd expect. If you're transporting it anywhere, consider running wooden dowels through both layers before the final frosting—they disappear into the cake and save you from the horror of a sliding, tilting Betty Boop mid-drive. Chill the frosted cake for at least 20 minutes before adding fondant, and keep the finished cake cool until serving time.
- Slide the finished cake onto a sturdy cake board before you start decorating—trying to move it after all that fondant work is asking for disaster
- Keep a small offset spatula and extra buttercream nearby for quick fixes if you ding the buttercream while placing fondant
- Photograph this cake in natural light if you can—artificial lighting can make the red layers look brown or the white eyes look yellow
 Pin It
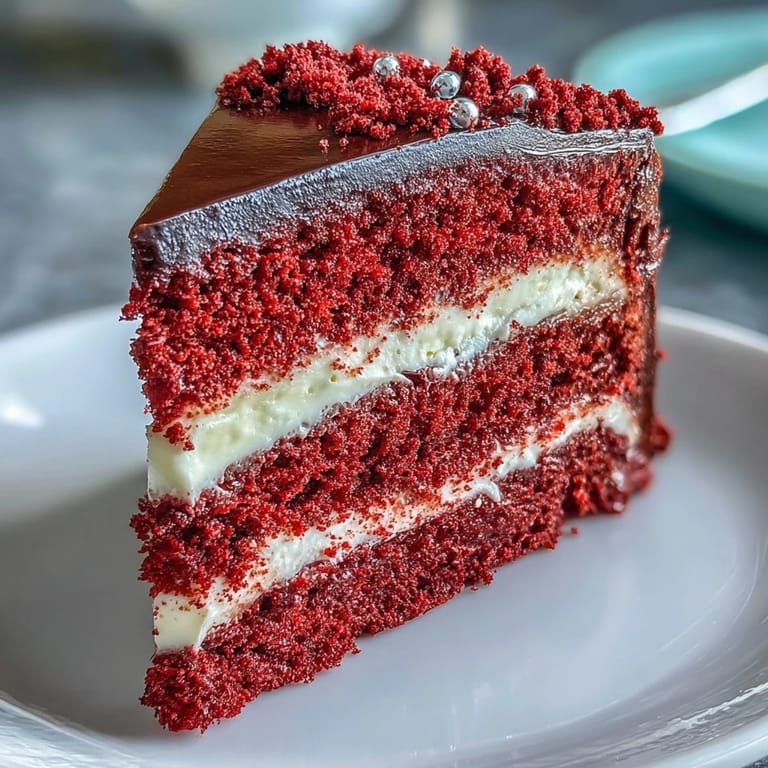
 There's something genuinely magical about cutting into a cake that looks like it stepped out of an animation cell, revealing that classic red velvet inside. The first slice always gets the biggest reaction—like you've performed a small trick that turns nostalgia into something you can taste.
Recipe FAQs
- → How far in advance can I prepare the fondant decorations?
The fondant hair, eyes, and lips can be crafted up to 24 hours ahead. Store them flat in an airtight container at room temperature, layered between parchment paper to prevent sticking.
- → Can I make the layers ahead of time?
Bake and cool the red velvet layers completely, then wrap tightly in plastic wrap and freeze for up to 2 weeks. Thaw overnight in the refrigerator before frosting and decorating.
- → What's the best way to achieve deep red color?
Use gel food coloring rather than liquid—it provides more intense hue without thinning the batter. Start with one tablespoon and add more as needed, remembering the color deepens slightly during baking.
- → Is this suitable for beginners?
The velvet cake itself is approachable for intermediate bakers, but the fondant work requires some practice. Consider making the features separately first to get comfortable with the technique before attempting the full assembly.
- → Can I substitute Swiss meringue buttercream?
Absolutely—Swiss meringue provides a lighter, silkier finish that pairs beautifully with red velvet. The decorating process remains the same, though the frosting's softer consistency may need additional chilling before applying fondant.