 Pin It
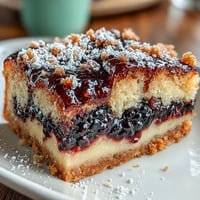
 My sister called me three weeks before her birthday asking if I could make her a cake. Nothing fancy, she said, but when I arrived at her apartment that morning, I found her kitchen already decorated with pastel streamers and a mood board of soft florals pinned to the fridge. Suddenly this vanilla cake became the centerpiece of something bigger—a celebration that needed to look as lovely as it tasted. That's when I realized a good birthday cake isn't just about sweetness; it's about showing up with color and care.
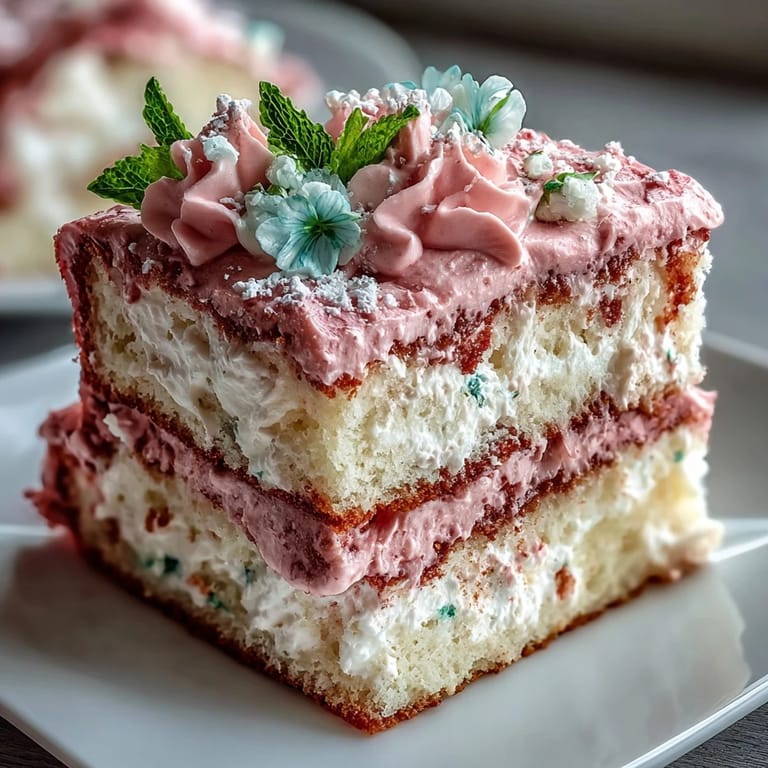
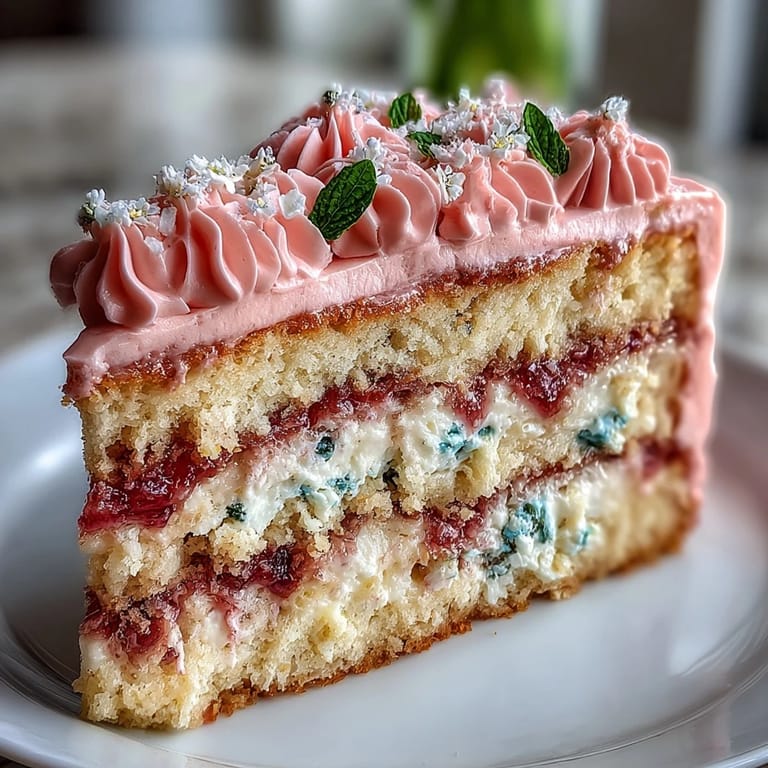
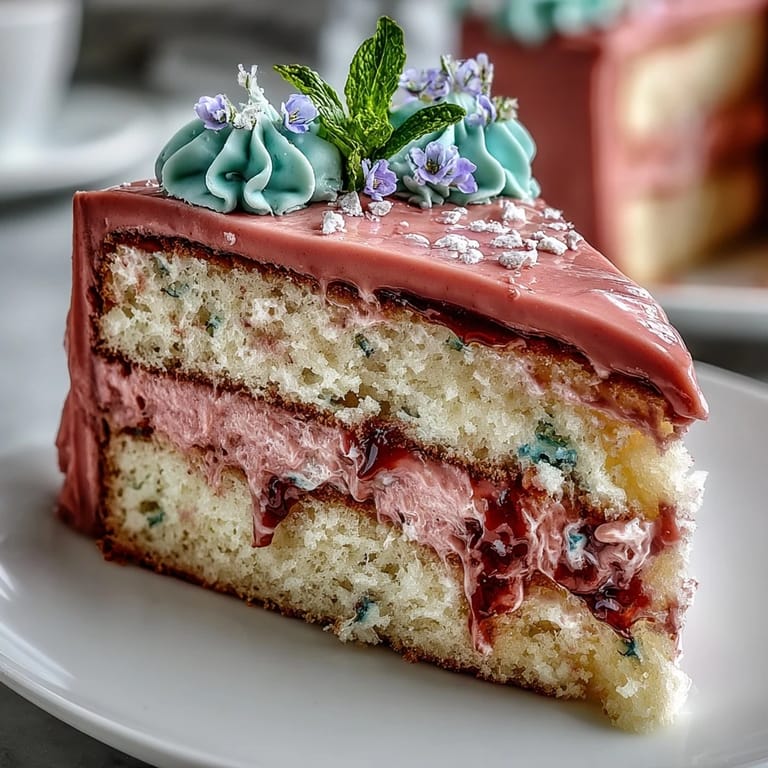
I'll never forget watching my sister's face light up when she saw those soft pink and lavender piped flowers. Her friends gathered around the cake before we even cut into it, taking photos and talking about the colors. That's when I understood—this cake does something special. It makes people pause and actually look at what's in front of them before diving in.
Ingredients
- All-purpose flour (2 ½ cups): The foundation of a tender crumb, and measuring by weight keeps it consistent every time.
- Baking powder (2 ½ tsp): This lifts the cake just enough to make it cloud-like without being airy or unpredictable.
- Salt (½ tsp): A pinch enhances the vanilla and balances the sweetness in ways people can't quite identify but absolutely notice.
- Unsalted butter (1 cup for cake, 1 ½ cups for buttercream): Room temperature is non-negotiable—cold butter won't cream properly and you'll end up with a dense cake instead of that tender crumb.
- Granulated sugar (2 cups): This creams with butter to create the structure and tenderness that makes people ask for seconds.
- Eggs (4 large, room temperature): Cold eggs won't incorporate smoothly and can cause lumps; take them out of the fridge 30 minutes before baking.
- Pure vanilla extract (1 tbsp for cake, 2 tsp for buttercream): The quality here matters because vanilla is literally the star—use real extract, never imitation.
- Whole milk (1 cup for cake, ¼ cup for buttercream): Room temperature milk combines evenly with the batter and prevents streaks of dry flour.
- Powdered sugar (6 cups, sifted): Sifting removes lumps that would create gritty buttercream; it takes 90 seconds and changes everything.
- Gel food coloring: Gel colors stay true in buttercream without thinning it out like liquid colors do—trust me on this one.
Tired of Takeout? 🥡
Get 10 meals you can make faster than delivery arrives. Seriously.
One email. No spam. Unsubscribe anytime.
Instructions
- Prep your pans and preheat:
- Set your oven to 350°F (175°C) and grease three 8-inch round pans, then line the bottoms with parchment paper so your cakes release cleanly. This step feels tedious but prevents the heartbreak of a cake sticking to the pan.
- Combine dry ingredients:
- Whisk flour, baking powder, and salt in a medium bowl—this distributes the leavening evenly throughout the batter. Set it aside and take a breath; the rest moves quickly.
- Cream butter and sugar:
- Beat room-temperature butter and sugar on medium-high speed for 3 to 4 minutes until it's pale, fluffy, and looks almost like frosting. This step is where the cake's tenderness begins, so don't rush it.
- Add eggs one at a time:
- Drop in each egg, beat well, then move to the next—this prevents lumpy, separated batter. After all four eggs are in, mix in the vanilla extract until just combined.
- Alternate flour and milk:
- Start and end with flour, adding a third of dry ingredients, then half the milk, then another third of flour, then the rest of the milk, then the final flour portion. Mix gently after each addition until just combined; overmixing develops gluten and makes the cake tough.
- Distribute batter and bake:
- Divide batter evenly among the three pans and smooth the tops. Bake for 25 to 30 minutes until a toothpick inserted in the center comes out clean or with just a few moist crumbs.
- Cool with intention:
- Let cakes rest in their pans for 10 minutes—this sets the structure—then turn them out onto a wire rack to cool completely. Rushing this step leads to crumbly layers that are harder to frost.
- Make the buttercream:
- Beat room-temperature butter until creamy, then gradually add sifted powdered sugar, milk, vanilla, and salt. Beat for another 3 to 4 minutes until it's smooth, fluffy, and spreadable.
- Tint your colors:
- Divide buttercream into small bowls and add gel coloring drop by drop, mixing until you reach soft, pastel shades. These gentle colors are what make the cake feel spring-like and special.
- Layer and crumb coat:
- Place the first cake layer on your serving plate, spread a thin layer of buttercream on top, repeat with the second layer and buttercream, then top with the third layer. Apply a very thin crumb coat of buttercream over the entire cake to seal in crumbs, then chill for 20 minutes.
- Decorate with intention:
- Fill piping bags with your pastel buttercreams and use various tips to create floral designs—dots for flower centers, petals for surrounding shapes, small lines for stems. This is where you make the cake yours; there's no wrong way to do it.
- Final chill:
- Let the decorated cake chill for 15 to 20 minutes so the buttercream sets and stays in place when you slice it.
 Pin It
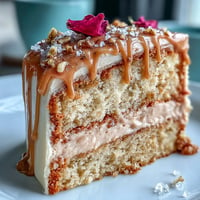
 Weeks later, my sister texted me a photo of the leftover cake in her fridge with the caption: still too pretty to eat. That's when I knew this recipe was worth keeping—not because it's complicated or showy, but because it turns an ordinary afternoon of baking into something that makes people feel celebrated.
Customizing Your Flavor
The vanilla base is a canvas. I've added a teaspoon of almond extract to the cake batter for a subtle nuttiness, swapped half a teaspoon of the vanilla for fresh lemon zest in the buttercream, and even mixed in a whisper of lavender extract to match the pastel theme. The beauty of this recipe is that it's forgiving enough to let you experiment without falling apart—just keep the ratios intact and the cake will turn out beautifully.
Building Confidence with Pastels
Piping flowers sounds intimidating until you realize that soft, blurry buttercream flowers look intentionally painterly even when they're a little uneven. I use gel coloring to keep the buttercream thick and stable, adding just one or two drops at a time because these colors are concentrated and go from whisper to overwhelming quickly. If you mess up a flower, a small offset spatula smooths it back into frosting and you try again—there's something liberating about that imperfection in a pastel-colored cake.
Storage and Serving Tips
A buttercream cake like this keeps beautifully in a cool room for up to two days, though I've always found it tastes best when served at cool room temperature rather than straight from the fridge, where the buttercream firms up and loses some of its smooth creaminess. If you need to make it ahead, bake the layers the day before, let them cool completely, wrap them individually, and store them in an airtight container—then assemble and decorate on the day of your celebration.
- Keep finished cakes away from direct sunlight or warm spots; pastels fade when exposed to heat.
- If you're transporting the cake, chill it fully before moving it and place it on a stable, flat surface in your vehicle.
- Leftover cake slices keep in an airtight container for three days, and honestly, room-temperature leftovers often taste better than freshly refrigerated cake.
 Pin It
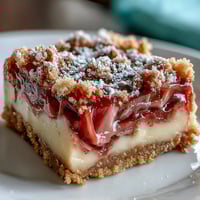
 This cake has become my go-to for celebrations because it's honest—it tastes as good as it looks. Make it, and let it become part of someone's favorite memory.
Recipe FAQs
- → What are the main flavor components?
The cake blends classic vanilla with creamy buttercream tinted in soft pastel colors, creating a light, sweet profile.
- → How is the floral decoration created?
Various piping techniques are used with pastel-colored buttercream to form delicate floral shapes, accented with optional edible petals or sprinkles.
- → Can I prepare the cake in advance?
Yes, the layers and buttercream can be prepared ahead; chilling before decorating helps achieve clean floral designs.
- → What tools are needed for decorating?
Piping bags fitted with assorted tips, an offset spatula for smoothing, and a wire rack for cooling are essential.
- → Are there alternatives for food coloring?
Natural food colors or matching floral hues to party themes can be used for a personalized touch.