Pin It
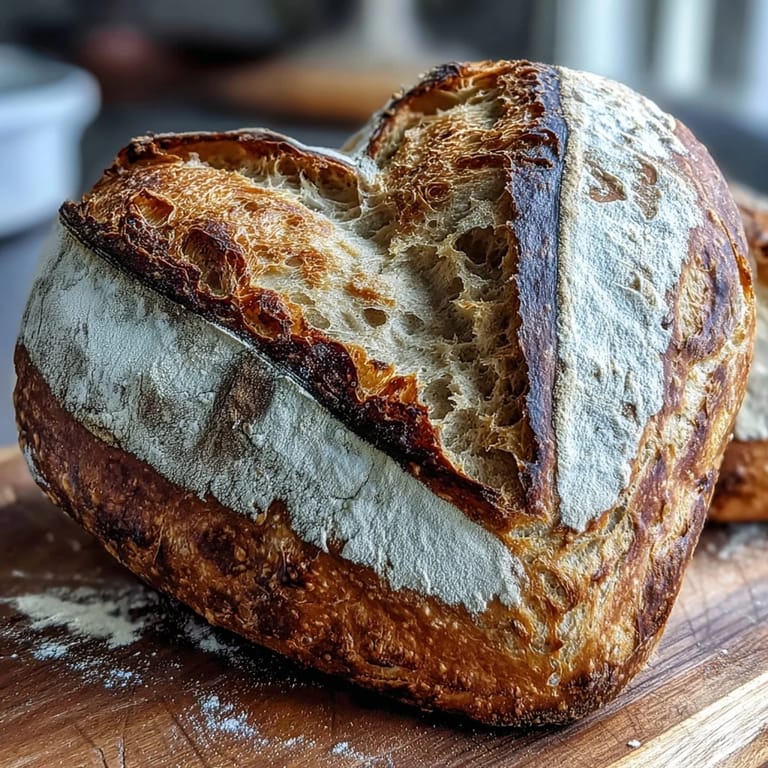
 My friend texted me a photo of a heart-shaped sourdough she'd seen on Pinterest, and I laughed—until she said she wanted to bake one for her girlfriend's Valentine's Day breakfast. Standing in my kitchen at midnight, flour dust catching the light, I realized this wasn't just bread; it was a love letter folded into dough. The crispy crust, the tender crumb, and that moment when you score the top and watch the pattern emerge—it's pure magic.
I made this on a snowy February morning, the kind where you're moving slowly and the kitchen feels like the warmest place on earth. My partner wandered in during the final proofing, saw the heart shapes waiting in their baskets, and just smiled without saying anything. That's when I understood—this bread wasn't about perfection, it was about showing up early to make something beautiful before anyone else woke up.
Ingredients
- Active sourdough starter (100 g): This is your yeast—make sure it's fed and bubbly the night before, rising and falling in its jar like a tiny living thing that's ready to work.
- Bread flour (350 g): The backbone of your crumb structure; don't skip it for all-purpose flour if you want that open, airy texture that justifies your overnight wait.
- Whole wheat flour (50 g): Adds depth and a subtle nuttiness without taking over; it also helps with browning and keeps the crumb from being too delicate.
- Water (280 g): Room temperature is key—cold water will slow your fermentation timeline and mess with your schedule.
- Fine sea salt (8 g): Added after the autolyse so it doesn't inhibit fermentation, but distributed evenly so every bite tastes seasoned.
- Rice flour (for dusting): Better than wheat flour for preventing sticking and creates that beautiful dusted finish; it also doesn't brown like wheat flour would.
- Edible dried flowers or seeds (optional): A finishing touch that transforms this from homemade to artisanal-looking, though honestly the bread speaks for itself.
Tired of Takeout? 🥡
Get 10 meals you can make faster than delivery arrives. Seriously.
One email. No spam. Unsubscribe anytime.
Instructions
- Introduce everything (except salt) and let it rest:
- Combine your bubbly starter with both flours and water in a large bowl, stirring until there are no dry bits hiding at the bottom. This 30–45 minute rest—called the autolyse—lets the flour absorb water and begin breaking down, so your dough will be easier to work with and develop better flavor.
- Bring salt into the fold:
- Scatter salt over the dough and mix it in thoroughly, working it through every corner until it's evenly distributed. You'll notice the dough tightens up a bit as the salt is incorporated.
- Build strength with stretch-and-folds:
- Wet your hand, grab one side of the dough in the bowl, stretch it up and fold it over the center, then rotate the bowl and repeat. Do this 3–4 times, spacing them 30 minutes apart and keeping the dough covered with a damp towel between sets—this gentle technique builds gluten without aggressive kneading.
- Let it rise to confidence:
- Shape into a loose ball, place it in a lightly oiled bowl, cover it, and let it sit at room temperature for 4–6 hours until it's noticeably puffy and about double in size. You'll feel the warmth radiating from the bowl and smell that tangy sourdough sweetness building.
- Shape your hearts with intention:
- Divide the dough in half on a lightly floured surface, then flatten each piece slightly. Pinch the base to form a pointed bottom, and use your thumb to indent the center-top where the two lobes meet, creating that classic heart shape.
- Slow the rise overnight:
- Place each heart into a floured proofing basket (or a bowl lined with a well-floured towel), cover them, and slide them into the fridge for 8–12 hours. This cold fermentation deepens flavor and makes the dough easier to score without tearing.
- Prepare your oven stage:
- Get your Dutch oven or baking stone into a 240°C (465°F) oven and let it preheat for at least 45 minutes. The retained heat will give you that restaurant-quality crust that shatters when you bite into it.
- Score with artistry:
- Remove a heart from the fridge, flip it onto parchment paper, dust generously with rice flour, then use a sharp razor blade or lame to score delicate patterns—maybe a detailed heart outline, or delicate lines radiating from the center. Take your time; this is the moment where your bread becomes art.
- Bake until golden:
- Carefully transfer your scored heart to the blazing hot Dutch oven, cover it, and bake for 20 minutes to trap steam and puff up the bread. Then uncover and bake another 15 minutes, watching as the surface transforms to deep golden-brown and you can practically hear the crust crackling.
- Cool completely before the finale:
- Transfer to a wire rack and let it sit for at least an hour—this allows the crumb to set properly so when you slice it, you'll see the open, airy texture you worked for. Once cooled, dust with edible flowers or seeds if you're going the extra mile.
 Pin It
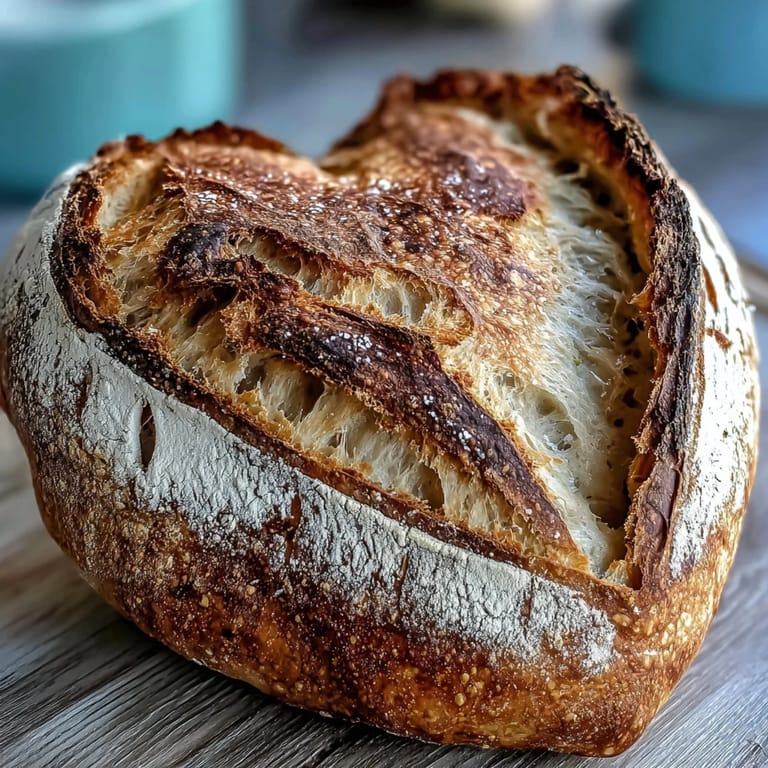
 I gave one of these to my neighbor on Valentine's Day, wrapped in parchment and a ribbon, and she cried—not because of the bread, but because someone had taken the time to make something imperfect and beautiful at the same time. That's when I got it: this recipe isn't about Instagram or date night, it's about patience showing up as love.
The Story Behind Cold Proofing
The first time I tried to rush this bread, skipping the overnight fridge step to bake it same-day, I ended up with a dense, flat pancake that my sourdough starter seemed almost apologetic about. It taught me that sourdough doesn't work on your schedule—it works on flavor's schedule. Cold fermentation isn't a shortcut you can skip; it's where the magic actually happens, where acids develop, where the dough gains the structure and openness that justifies hours of waiting.
Why Your Starter Matters
A sluggish, under-fed starter will make this bread sluggish too, and there's no amount of time that can fix a starter that's not ready to work. I learned this the hard way, feeding my starter once a day and expecting it to behave like it was thriving—it wasn't. Now I keep mine at a ratio of 1:1:1 (starter:flour:water), feed it at the same time daily, and wait until it's doubled and bubbly before using it, usually 4–8 hours after feeding depending on kitchen temperature.
Scoring Technique and Flour Dusting
Rice flour changes everything about the dusting step—it doesn't hydrate and turn gummy like wheat flour, so your patterns stay crisp and visible even after the oven's heat. The scoring itself is a meditation moment where you're essentially telling the bread where to expand, so a sharp blade and confident strokes (not hesitant sawing) will give you those beautiful open ears and defined patterns that make people stop and stare.
- Score at an angle of about 30 degrees and aim for quarter-inch depth so the heat can travel into the cut and create an ear.
- Dust with rice flour just before scoring for the clearest, most photogenic finish.
- If your blade drags instead of gliding, it's dull—swap it out because a clean cut is the difference between a professional-looking score and a ragged tear.
 Pin It
 This bread will change how you think about time in the kitchen—not as something to rush, but as an ingredient itself. Make this when you want to slow down, and you'll understand why sourdough bakers keep doing it, year after year.
Recipe FAQs
- → How do I achieve a crisp crust on sourdough bread?
Baking the bread covered initially traps steam, helping the crust to develop a deep, crisp texture. Removing the cover halfway allows browning and caramelization.
- → What is the purpose of stretch-and-folds in dough preparation?
Stretch-and-folds strengthen gluten structure and help develop dough elasticity without intensive kneading, improving the bread's texture.
- → Why use rice flour for dusting before scoring?
Rice flour doesn't absorb water quickly, preventing dough from sticking and creating sharp, clean scoring lines that showcase artistic patterns.
- → How long should I cold proof the shaped dough?
Refrigerate the dough shaped into hearts for 8–12 hours to slow fermentation, enhancing flavor complexity and improving dough handling during baking.
- → Can I add natural color to the dough?
Yes, kneading in beetroot powder into part of the dough before shaping adds a pink swirl, offering a vibrant visual contrast inside the loaf.
- → What are good serving ideas for this bread?
Pair the heart-shaped sourdough with flavored butters, jams, or spreads to complement its mild tang and make it perfect for festive occasions.