 Pin It
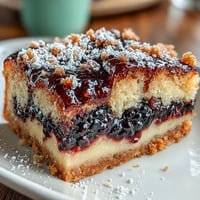
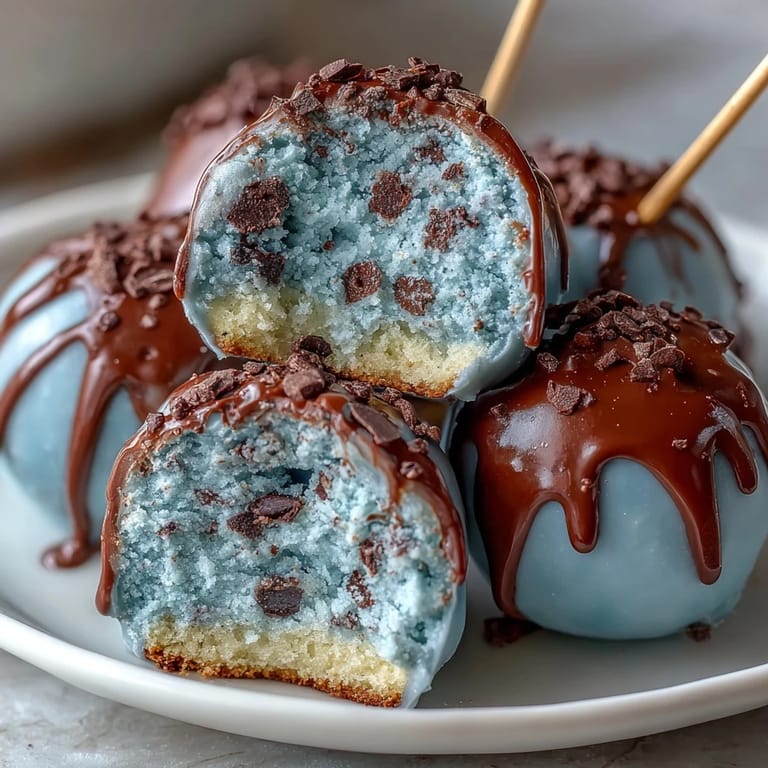
 My sister showed up at my kitchen door with a magazine clipping of robin's egg blue cake pops, and I knew immediately I had to make them for her Easter brunch. The moment I bit into that first pop—the snap of the blue shell giving way to tender cake and buttercream—I understood why she'd been obsessing over them. These little bites felt fancy enough for a celebration but simple enough that I could make two dozen without losing my mind.
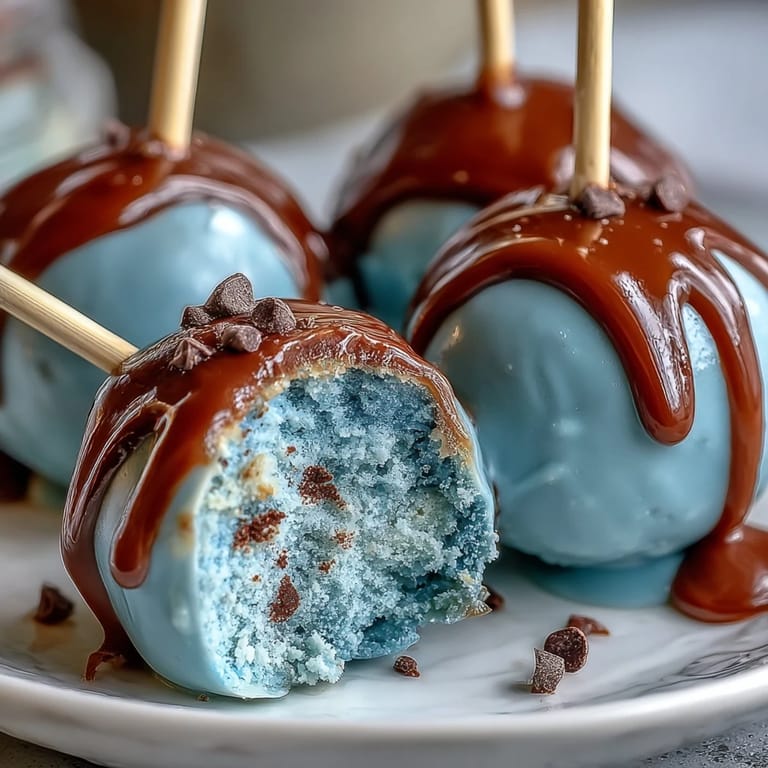
I'll never forget watching my nephew's eyes light up when he spotted these on the table at Easter dinner—he thought they were too pretty to eat at first, then devoured three in a row. That's when I realized these cake pops aren't just dessert; they're the kind of small gesture that makes people feel celebrated.
Ingredients
- Vanilla cake: A good quality box mix or your homemade recipe both work beautifully—I've found box cake actually holds together better when crumbled because of the added stabilizers, but bake it according to package directions and let it cool completely or the frosting will slide right off.
- Unsalted butter and powdered sugar: Softened butter makes creaming effortless, and this simple frosting becomes the glue that holds everything together without overpowering the cake flavor.
- Milk and vanilla extract: The milk keeps the frosting workable while your hands are rolling balls, and vanilla makes it taste intentional rather than blank.
- White candy melts or white chocolate: Candy melts are more forgiving for beginners since they set faster, but real white chocolate tastes better if you're patient with the temperature.
- Blue gel food coloring: Oil-based is non-negotiable here—water-based coloring causes the chocolate to seize and turn grainy, which I learned the hard way before my sister's brunch.
- Coconut oil or vegetable shortening: Just a touch thins the coating to the right dipping consistency without making it greasy, and it helps the color distribute evenly.
- Cocoa powder and vodka or clear extract: This creates that speckled bird egg effect—vodka dries quickly so the speckles stay put, and the cocoa gives an authentic eggshell appearance.
- Lollipop sticks and Styrofoam: The sticks become handles that let you dip and display, and the foam block holds them upright while they set without toppling.
Tired of Takeout? 🥡
Get 10 meals you can make faster than delivery arrives. Seriously.
One email. No spam. Unsubscribe anytime.
Instructions
- Bake and cool your cake:
- Follow the package directions or your recipe, and don't skip the cooling step—warm cake becomes gummy mush when you try to crumble it. Once completely cool, you're ready to transform it into cake pop gold.
- Make the frosting:
- Cream that softened butter until it's pale and fluffy, then gradually add powdered sugar so it doesn't cloud the air with powder. Beat in milk and vanilla until smooth and spreadable, tasting as you go because this frosting is your flavor foundation.
- Crumble and bind:
- Break the cooled cake into fine crumbs using your hands or a fork, which gives you better texture control than a food processor. Add frosting slowly, mixing with your hands until the mixture just holds together—oversaturate it and the balls become mushy inside.
- Roll into balls:
- Scoop roughly 1 tablespoon portions and roll between your palms until smooth, then arrange them on parchment paper. This part feels therapeutic, honestly, like making edible snowballs.
- Chill the balls:
- Pop them in the freezer for 15 minutes to firm up so they won't fall apart when you dip them. This short chill makes the whole process infinitely less frustrating.
- Prepare your coating:
- Melt the white chocolate slowly over a double boiler or in 20-second microwave bursts, stirring between each interval to prevent scorching. Once melted, add blue gel coloring drop by drop until you reach that perfect robin's egg shade, then thin slightly with coconut oil if needed.
- Stick and dip:
- Dip a lollipop stick tip into the melted coating, insert it halfway into a cake ball, then refrigerate for 10 minutes so the stick doesn't wobble. Then comes the satisfying part—a full dip into the blue coating, a gentle twist, and a moment of held breath as you lift it out of the chocolate.
- Set your pops:
- Stand each pop upright in a Styrofoam block to set completely, which takes about 30 minutes at room temperature or 15 in the fridge. You'll watch the blue go from glossy and wet to that gorgeous matte robin's egg finish.
- Add the speckles:
- Mix cocoa powder with vodka or clear extract until it's the consistency of thin paint, dip a clean food brush into it, and flick it gently over the pops to mimic real bird egg markings. The vodka evaporates quickly, leaving speckles that stay exactly where you want them.
 Pin It
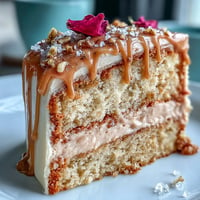
 There's something magical about creating something so visually delicate with your own hands—especially when someone bites into it and gets that perfect ratio of chocolate crack to tender cake. These little pops stopped being just dessert the moment I realized they sparked joy in a way a plain slice never could.
Flavor Variations Worth Exploring
The base frosting is your canvas, so don't be afraid to experiment with different extracts or even a splash of liqueur if you're serving adults. I tried lemon extract once and it completely elevated the spring feel, making each bite taste bright and intentional rather than generic vanilla. Almond extract leans more elegant if you're making these for a fancier occasion.
Storage and Make-Ahead Magic
These pops are genuinely forgiving about timing, which makes them perfect for entertaining because you can build them days ahead without stress. The finished pops keep at room temperature for three days if you're in a cool kitchen, but I always refrigerate them if I'm making them more than a day in advance—the frosting stays firmer and the chocolate coating doesn't risk any bloom or discoloration.
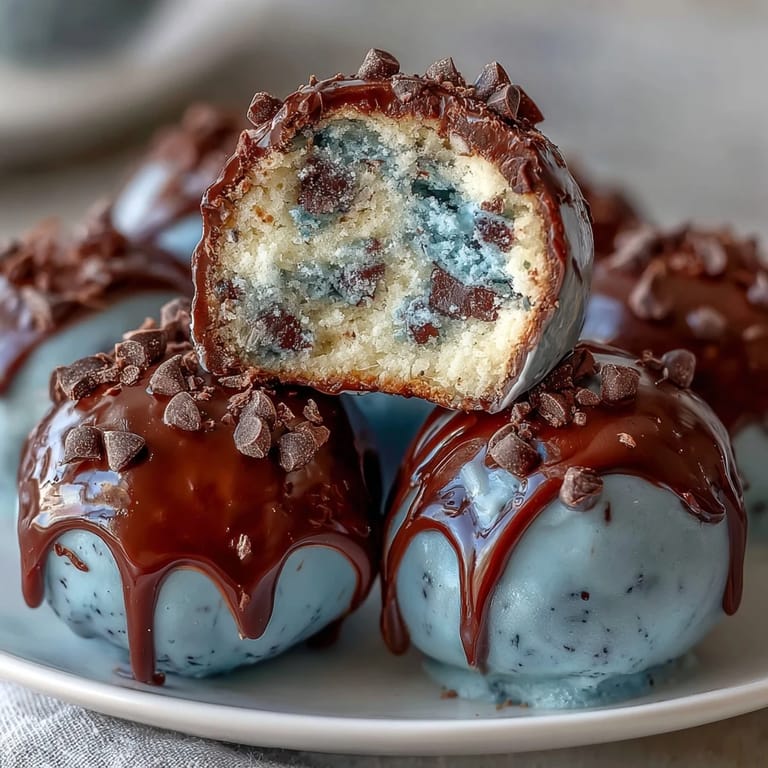
Why the Speckled Effect Matters
The speckled cocoa detail is what separates these from looking like generic candy—it's the difference between a cake pop and a robin's egg, which is why I always take the extra two minutes to add those flicks. The cocoa powder mixed with vodka creates a naturally mottled appearance that feels authentic and intentional.
- Mix your cocoa and vodka paste right before you use it, as it thickens quickly and becomes harder to flick cleanly.
- A dry food brush with stiff bristles gives you better control than a soft one when you're flicking the speckling.
- Let the blue coating set mostly firm before sprinkling, or the wet chocolate will absorb the cocoa and blur your carefully placed specks.
 Pin It
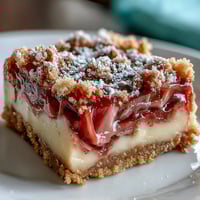
 These cake pops taught me that the most memorable desserts aren't complicated—they're the ones made with a little extra attention to detail and served with genuine pride. They're spring in edible form, perfect for Easter brunches or whenever you want to remind someone that they're worth the effort.
Recipe FAQs
- → What gives the cake pops their robin's egg blue color?
Blue gel food coloring is added to melted white candy melts or white chocolate to create the robin's egg blue shade.
- → How do you achieve the speckled decoration on the cake pops?
A thin paste of cocoa powder and vodka or clear extract is flicked over the coated cake pops using a food-safe brush for a speckled effect.
- → Can I use a homemade cake instead of box mix?
Yes, homemade vanilla cake can be crumbled and combined with frosting to form the cake balls for these treats.
- → What helps the coating stay smooth and easy to dip?
Adding coconut oil or vegetable shortening to the melted candy melts thins the coating for easier dipping and a smooth finish.
- → How should these treats be stored after preparation?
Store at room temperature for up to three days or refrigerate for up to a week to keep the texture and flavor intact.