 Pin It
 My kitchen was buzzing with mid-afternoon energy when I first stumbled into making these protein balls, thanks to a craving and a mostly empty pantry staring back at me. There were oats, a half-used tub of peanut butter, and a bag of protein powder left from my last fitness phase, all begging for purpose. It wasn’t planned, but something about mixing those humble staples together while music played in the background felt oddly satisfying. As I rolled the sticky mixture into dozens of little bites, their nutty aroma reminded me of baking cookies, except this time with no waiting for the oven. Half an hour later, my countertop was covered in little snack-sized treasures, each promising a lift for long afternoons on the go.
Last winter, I made a double batch before a group hike, with friends arriving early just as I started rolling the mixture. We found ourselves swapping stories around the kitchen island, hands covered in peanut butter and chocolate, laughing at whose ‘protein balls’ were truly round. That impromptu assembly line turned a simple snack into a shared adventure before boots even hit the trail.
Ingredients
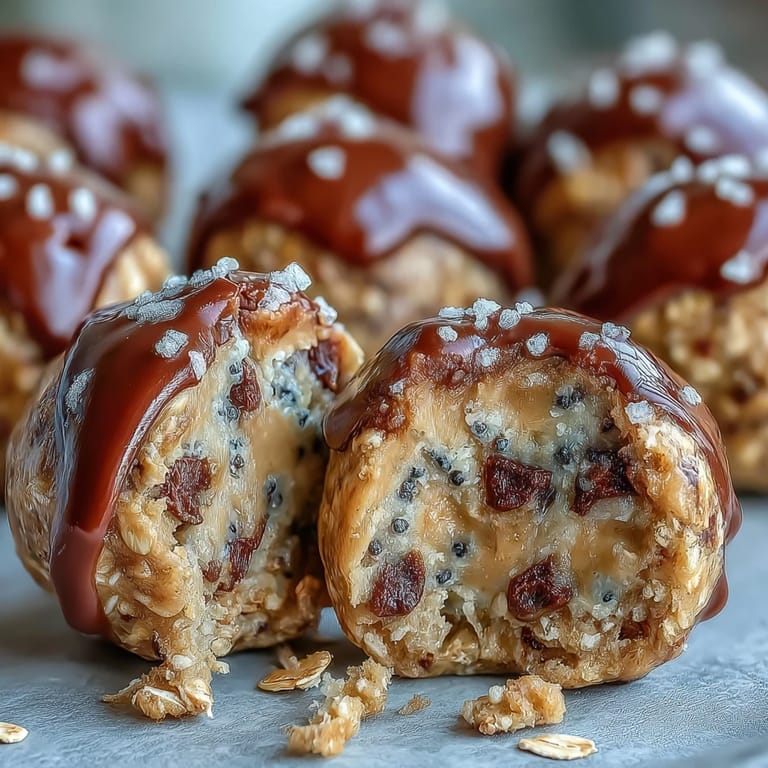
- Rolled oats: These give the balls their hearty chew, and I always toast them lightly if I have the patience—it deepens the flavor.
- Natural peanut butter: Go for the drippy kind with just peanuts and salt for the best blend; sometimes, I warm it up a bit to mix easier.
- Honey or maple syrup: Natural sweetness that also helps everything stick together—a splash more if the mixture seems dry.
- Vanilla or chocolate protein powder: The not-so-secret boost, and choosing a flavor here lets you tailor things toward dessert or something more classic.
- Mini chocolate chips (optional): A hand-scattered handful instantly makes these more of a treat and brings out smiles every time.
- Chia seeds or flaxseed meal: For an extra bit of texture and some extra staying power; I swap depending on what’s in the jar.
- Vanilla extract: Just a touch in the mix makes the whole batch taste like a bakery treat.
- Pinch of salt: Brings everything into balance—don’t skip it, even for the sweet tooths.
Tired of Takeout? 🥡
Get 10 meals you can make faster than delivery arrives. Seriously.
One email. No spam. Unsubscribe anytime.
Instructions
- Gather and Measure:
- Lay out all your ingredients and grab a large mixing bowl—it makes cleanup so much easier in the end.
- Mix Base Ingredients:
- Tumble oats, protein powder, chia or flax, and salt into the bowl and stir them until they look evenly combined.
- Add the Binders:
- Scoop in peanut butter, honey (or maple syrup), and drizzle the vanilla over it; mix with a spatula at first, then use your hands when the going gets tough.
- Add Chocolate Chips:
- If you're craving a little chocolate, fold in the chips gently—try not to eat them all as you mix.
- Shape the Balls:
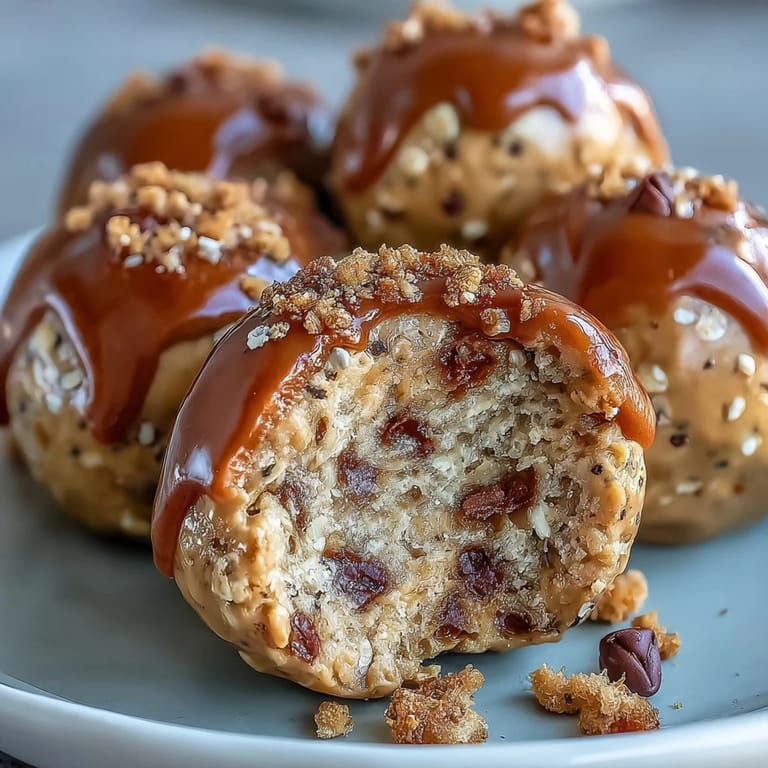
- Scoop out roughly 1-inch portions and roll them between your palms—they’ll be sticky but come together as you roll.
- Chill to Set:
- Place the balls on a parchment-lined tray and let them chill in the refrigerator for at least 20 minutes so they firm up nicely.
- Store and Enjoy:
- Transfer to an airtight container and stash in the fridge; they’ll keep fresh for a week, if they last that long.
 Pin It
  Pin It
 The time my younger cousin begged for “just one more” before leaving for soccer practice, she ran off, beaming and sticky with chocolate. Those small, hurried goodbyes with a snack in hand ended up lingering longer in my mind than most planned meals ever could.
How to Tweak for Different Tastes
Adding coconut flakes or swapping out chocolate chips for dried cranberries gives these snacks a new vibe every time. Sometimes I split the batch and go half classic, half whatever toppings my pantry inspires that week.
Kid-Friendly Snack Hacks
If you’re making these with little helpers around, let them shape their own balls—it turns prepping into playtime, and snack time becomes a victory lap. I’ve learned a bit of mess is the secret ingredient to getting kids invested in what they eat.
Easy Storage and Prep Tips
Shape and chill all at once, then tuck the balls away in single layers with parchment in between to prevent sticking. This simple habit has rescued more rushed Monday mornings than I care to admit.
- Roll with damp hands to keep the mix from sticking everywhere.
- Freeze extras for up to a month if you love having snacks ready.
- If you’re on the go, wrap a few in wax paper for a mess-free energy boost.
 Pin It
 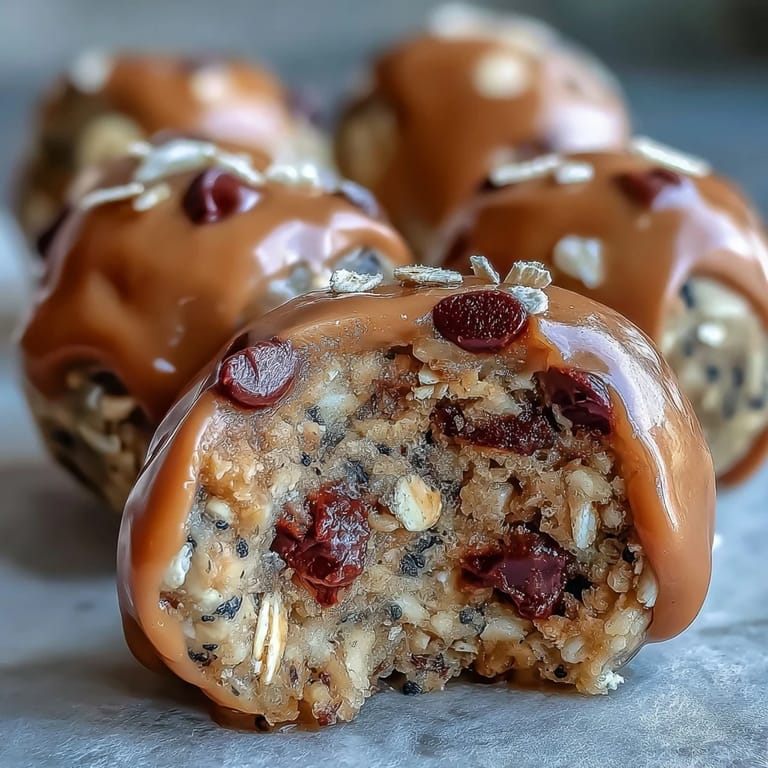 Pin It
 Whip up a batch and you might find a favorite new snack ritual—one you can share or squirrel away just for yourself.
Recipe FAQs
- → How do I prevent the balls from crumbling?
Use a slightly sticky binder—peanut butter plus honey/maple syrup—and press firmly when shaping. If the mixture feels dry, add a teaspoon of nut butter or syrup at a time until it holds. Chilling for at least 20 minutes helps them set and reduces crumbling.
- → Can I make these nut-free?
Yes. Substitute sunflower seed butter or soy nut butter for peanut butter and proceed the same way. Taste and adjust sweetness as seed butters can be more bitter than peanut butter.
- → What storage method keeps them fresh longest?
Store the balls in an airtight container in the refrigerator for up to one week. For longer storage, freeze in a single layer on a tray, then transfer to a sealed bag for up to three months; thaw in the fridge before eating.
- → How can I adjust the texture—firmer or chewier?
For firmer bites, add a little more oats or a touch of protein powder. For chewier, increase the nut butter or syrup slightly. Small adjustments, then chill and reassess, will get the texture you prefer.
- → Which protein powders work best?
Whey, casein, or plant-based powders (pea, brown rice) all work. Choose vanilla or chocolate to complement flavors; plant powders may absorb more moisture, so add a bit more binder if needed.
- → How can I vary the flavor?
Stir in mini chocolate chips, cocoa powder, dried cranberries, coconut flakes, or chopped nuts. A pinch of cinnamon or a splash of almond extract can also deepen the flavor profile.