 Pin It
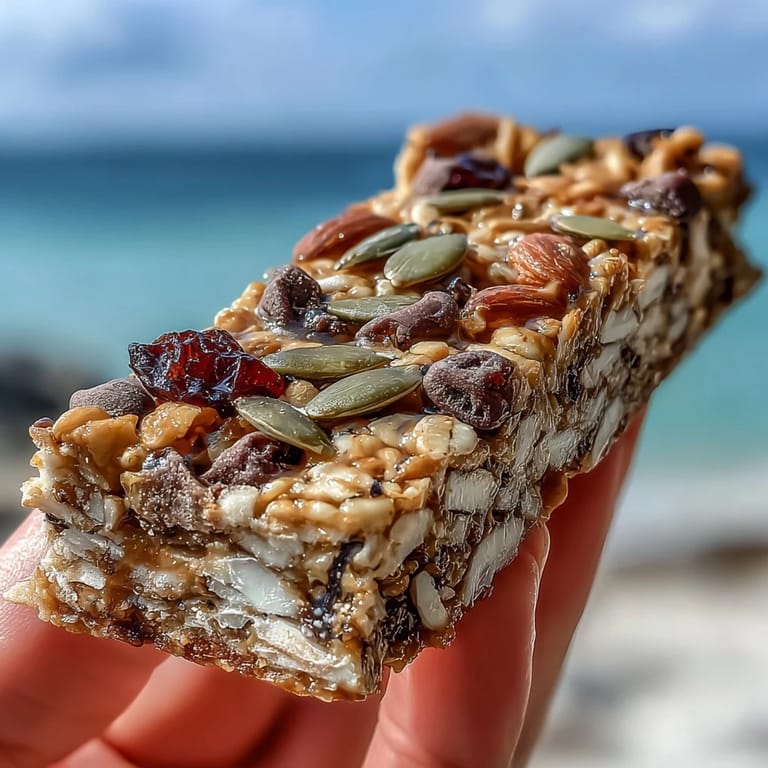
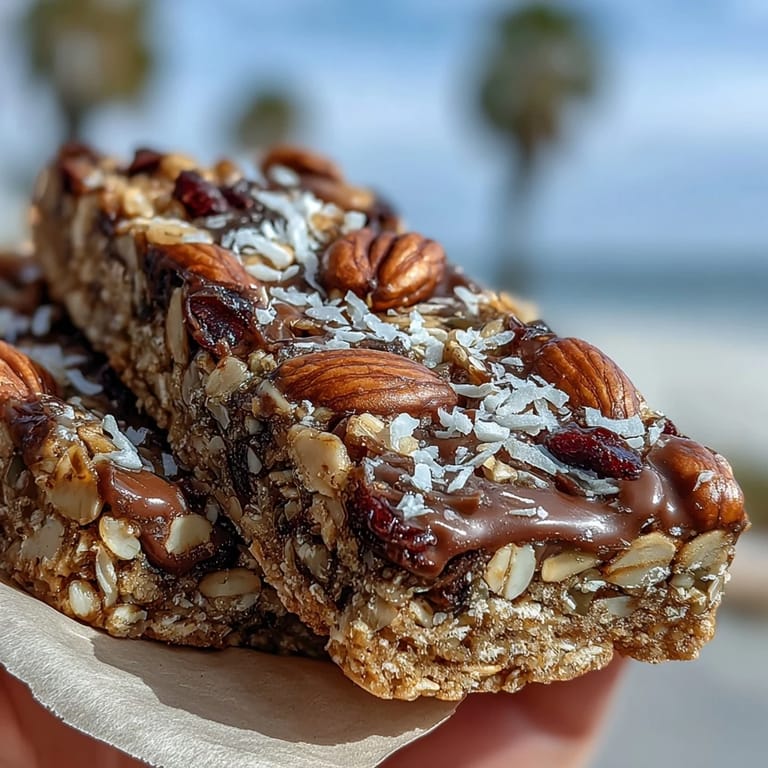
 The first time I tried to whip up these nut-free granola bars, sunlight was streaming through my kitchen window, promising a quiet afternoon. My friend Paige had just dropped by unexpectedly, and we both craved something sweet but safe for her nut-allergic niece. I pulled out oats, honey, and a handful of seeds, and before we knew it, our laughter was louder than the whir of the oven. The golden scent that filled the kitchen after baking made us linger, just to savor the anticipation.
I once made these for a group hike, and they survived a packed bag, a hot summer morning, and several bumpy trails. My cousin Julia claimed they tasted even better after a swim, cool and slightly sticky from the honey. Each bite felt like a tiny celebration, proving homemade snacks really could outshine store-bought bars.
Ingredients
- Old-fashioned rolled oats: These are the backbone for chewiness, and I learned to press them firmly in the pan for bars that hold their shape.
- Unsweetened shredded coconut: Adds a subtle sweetness and softness; toasting it boosts the flavor without overpowering.
- Pumpkin seeds (pepitas): Bring crunch and earthiness; a quick toast helps them stay crisp after baking.
- Sunflower seeds: Their mild taste makes the bars nut-free but still satisfyingly crunchy.
- Dried cranberries or raisins: A tart pop that lightens each bite, especially if you chop them up for more even distribution.
- Mini chocolate chips (optional): Playful pockets of chocolate—just scatter a few for surprise sweetness.
- Fine sea salt: A pinch wakes up all the flavors; I sometimes sprinkle a little extra on top before baking.
- Ground cinnamon: Warm and aromatic, it subtly ties the whole bar together.
- Honey: The sticky, natural sweetener that binds everything—local honey adds nuance.
- Sunflower seed butter or tahini: Extra creamy and safe for nut allergies; I found tahini gives a gently savory note.
- Coconut oil, melted: Helps keep the bars moist and golden; never skip melting it for good mixing.
- Pure vanilla extract: A little vanilla rounds out flavors and gives the bars a slight bakery aroma.
Tired of Takeout? 🥡
Get 10 meals you can make faster than delivery arrives. Seriously.
One email. No spam. Unsubscribe anytime.
Instructions
- Prep the Pan:
- Line your baking pan with parchment, letting it hang over the sides—it makes a satisfying "swish" sound and guarantees easy bar removal later.
- Mix the Dry Ingredients:
- Combine oats, coconut, seeds, fruit, chocolate chips, salt, and cinnamon in a big bowl; stir so everything gets cozy together.
- Warm the Wet Ingredients:
- Gently heat honey, sunflower seed butter, coconut oil, and vanilla until melty and fragrant—the honey smells amazing as it loosens in the saucepan.
- Combine and Coat:
- Pour the wet into the dry, then mix with a spatula until every oat is sticky and shiny; it feels weirdly satisfying.
- Press, Compact, and Bake:
- Spoon the mixture into your pan and press firmly—use a measuring cup bottom for extra smoothness, then bake until edges turn golden and your kitchen smells nutty and sweet.
- Cool and Cut:
- Let the bars cool completely on a rack; the hardest part is waiting, but they cut beautifully when fully set.
- Store or Serve:
- Lift the whole slab out using the parchment, slice into bars, then keep them in an airtight container for grab-and-go goodness.
 Pin It
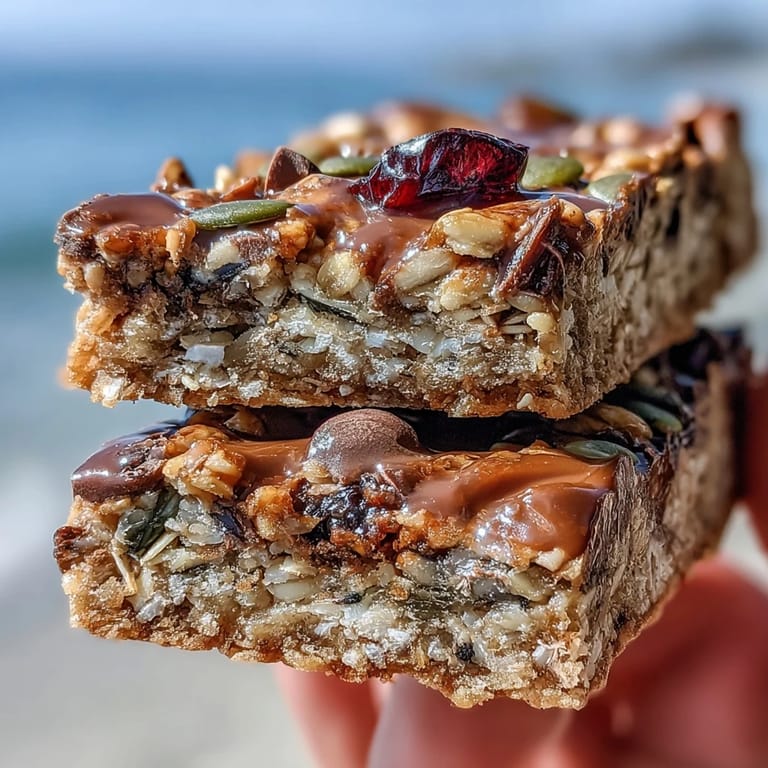
 The day my granola bars made it to my kid's lunchbox was the day they officially became a family favorite. He traded one for a sticker from his best friend, and came home asking me to make them with "double the chocolate chips" next time. Sometimes, food finds its way into our stories in the most unexpected, delightful ways.
Morning Snack Success: How to Make Bars Last All Week
I've found storing the bars in a tightly sealed container at room temperature keeps them chewy for days, but popping them in the fridge gives extra crunch and longevity. Swapping in maple syrup for honey makes them vegan without sacrificing stickiness. On particularly busy mornings, grabbing a bar feels almost like a reward—you know you made something good, and portable, in advance.
Easy Swaps for Dried Fruit and Chocolate Chips
Depending on what you have at home, toss in dried apricots, cherries, or even chopped dates for new flavors and textures. If you want a dairy-free version, just use vegan chocolate chips, or leave them out entirely—sometimes I sprinkle a few on top after baking for a fun finish. Experimenting makes each batch unique and keeps the recipe fresh every time.
Why Toasting Seeds Takes These Bars to the Next Level
The first time I toasted the oats and seeds, the aroma alone convinced me never to skip it. It draws out nutty, deep flavors and makes the bars smell like a bakery. Even just a five-minute toast on the stovetop before mixing helps them stay crisp after baking.
- Don't forget to watch the seeds—they burn fast.
- Let toasted seeds cool before mixing, or they'll melt the chocolate chips prematurely.
- If you try to speed up cooling, the bars can end up sticky and uneven.
 Pin It
 Whether you're snacking at home or packing these bars for a busy day, I hope they brighten your routine as much as they have mine. There’s something special about a homemade snack that becomes a little tradition.