 Pin It
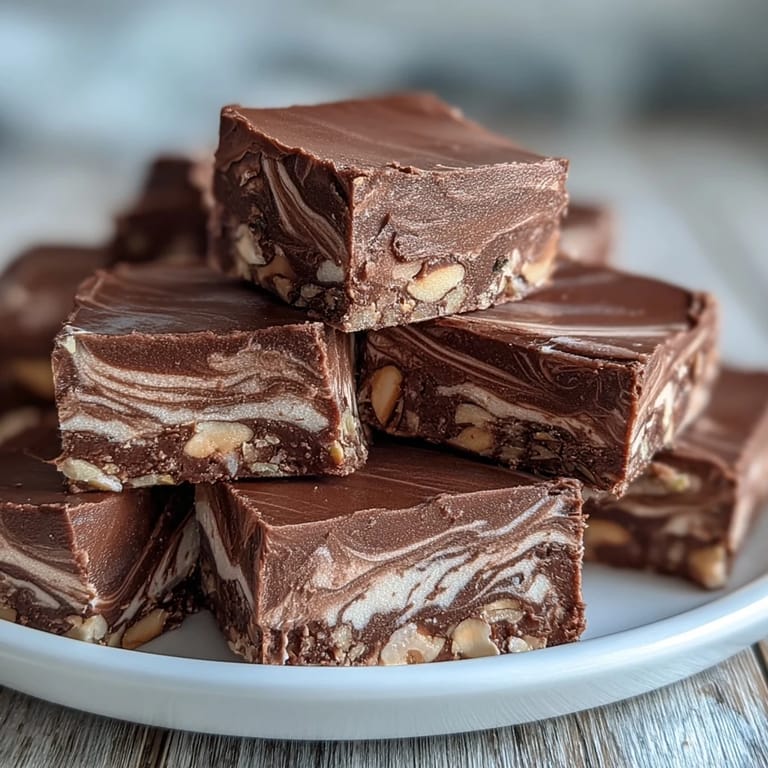
 The first time I encountered hojicha nougat was at a tiny confectionery shop in Kyoto, where the owner wrapped each piece by hand. That roasted, nutty aroma hit me before I even tasted it, and suddenly I understood why Japanese pastry chefs prize this particular green tea. The earthiness cuts through the sweetness perfectly, creating something sophisticated yet comforting. I spent months trying to recreate that texture at home, and now my kitchen always smells like warm roasted tea when I make a batch.
Last Christmas, I made three batches to give as gifts, and my brother called me specifically to confess he ate half his stash in one sitting. The texture is this perfect middle ground between chewy and yielding, and those toasted nuts scattered throughout make every bite interesting. Ive started keeping small bags in the freezer for unexpected guests who deserve something special.
Ingredients
- Roasted almonds (100 g) and pistachios (50 g): The combination brings both sweetness and a lovely green color contrast. Toasting them fresh makes a huge difference in the final flavor.
- Honey (120 g): Use a mild honey so it doesnt compete with the hojicha. The floral notes actually complement the roasted tea beautifully.
- Granulated sugar (200 g) and water (80 ml): These form your syrup base. The ratio creates that perfect chewy set without getting rock-hard.
- Fine sea salt (1/2 tsp): Essential for balancing all the sweetness and making the hojicha flavor pop.
- Egg whites (2 large): Must be room temperature or they wont whip properly with the hot syrup.
- Cream of tartar (1/4 tsp): Stabilizes the egg whites so they hold up when you pour in that boiling sugar mixture.
- Hojicha powder (2 tbsp): This is the star. Look for a bright, reddish-brown powder that smells intensely roasted.
- Vanilla extract (1 tsp): Rounds everything out and bridges the gap between the sweet and earthy elements.
- Unsalted butter (30 g): Softened to room temperature. This adds richness and helps create that smooth, glossy finish.
Tired of Takeout? 🥡
Get 10 meals you can make faster than delivery arrives. Seriously.
One email. No spam. Unsubscribe anytime.
Instructions
- Prepare your workspace:
- Line a 20x20 cm pan with parchment paper, letting the edges overhang for easy removal later. Toast your nuts in a dry skillet until fragrant, about 2-3 minutes, then set them aside to cool.
- Cook the sugar syrup:
- Combine honey, sugar, water, and salt in a saucepan over medium heat. Stir until sugar dissolves, then stop stirring completely and boil until it reaches exactly 140°C (285°F) on your candy thermometer.
- Whip the egg whites:
- While syrup cooks, beat egg whites with cream of tartar until soft peaks form. The timing works out perfectly if you start whipping when the syrup hits about 120°C.
- Combine everything:
- With mixer on low, carefully pour that hot syrup in a thin stream into the egg whites. Turn to high and beat for 5 minutes until glossy and thick.
- Add the flavor:
- Beat in hojicha powder and vanilla until just combined. Fold in softened butter, then gently mix in those toasted nuts until evenly distributed.
- Set and cut:
- Quickly spread into your prepared pan and let cool for at least 30 minutes. Cut with a sharp, lightly oiled knife and wrap individually.
 Pin It
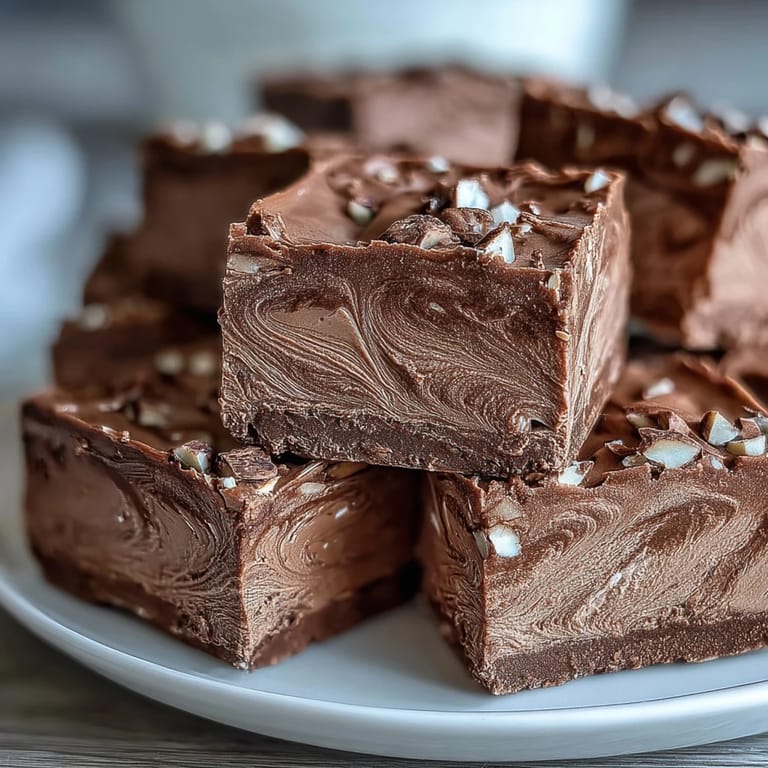
 My friend who never bakes anything made this for her daughters birthday, and she sent me a photo of the most perfectly cut squares. She said the hardest part was not eating the whole batch while wrapping individual pieces.
Temperature Precision
That window between 138°C and 142°C is where magic happens. Too low and your nougat will be sticky and soft, too high and it becomes jaw-breakingly hard. I keep a notebook of every batch, documenting humidity and exact temperatures, because kitchen conditions absolutely affect how sugar behaves.
The Whipping Process
When you pour that syrup into the egg whites, it cooks them partially while creating this incredibly stable foam. The 5-minute beating window is non-negotiable. Under-beat and the texture will be dense. Over-beat and youll incorporate too much air, making the nougat crumble instead of chew.
Customization Ideas
The beauty of this recipe is how well it adapts to different flavors while keeping that perfect texture. Swap the nuts for hazelnuts and add a pinch of cinnamon for a cozy winter version, or use black sesame powder instead of hojicha for something nuttier. I once made a yuzu version by adding tablespoon of fresh juice along with the vanilla, and it was stunning.
- Try mixing different nuts like macadamias or pecans for varied textures
- Add a pinch of matcha alongside hojicha if you want a greener tea flavor
- For a chocolate version, sift in 2 tablespoons of cocoa powder with the hojicha
 Pin It
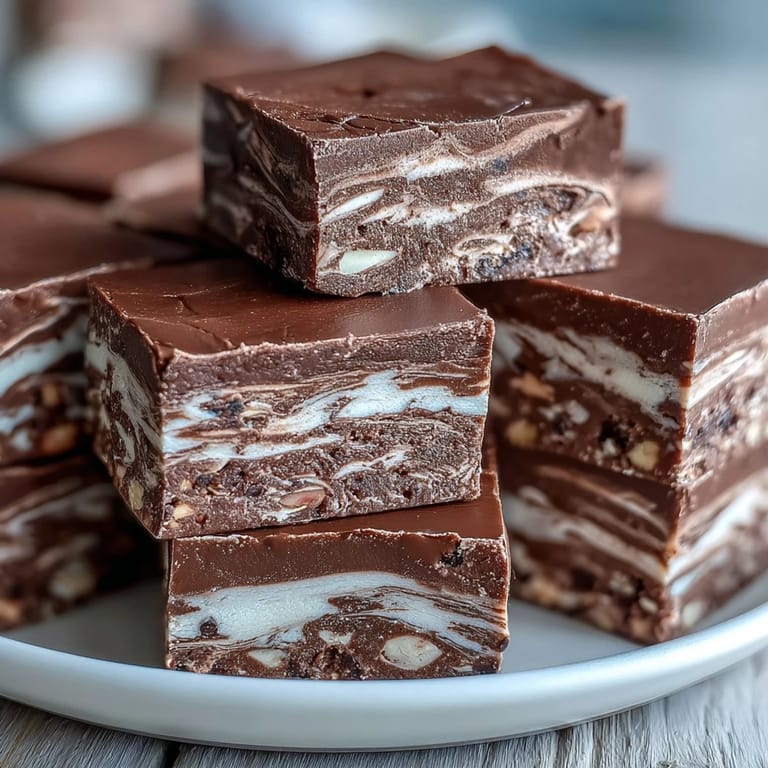
 These little squares have become my go-to host gift because they feel handmade and special, yet keep beautifully for weeks. Something about giving someone candy you crafted yourself feels like giving them time.
Recipe FAQs
- → What makes hojicha nougat unique?
Hojicha nougat stands out for its roasted green tea flavor, which adds earthy, toasty notes that complement the sweetness of honey and the crunch of toasted nuts, creating a sophisticated Japanese-inspired confection.
- → How do I know when the syrup is ready?
Use a candy thermometer to monitor the syrup temperature. It must reach exactly 140°C (285°F) to achieve the proper chewy texture once whipped into the egg whites.
- → Can I substitute the nuts?
Absolutely. Cashews, hazelnuts, or walnuts work beautifully as alternatives to almonds and pistachios. Toast them lightly before adding to enhance their flavor.
- → Why is my nougat too hard or too soft?
Texture issues usually stem from incorrect syrup temperature. Under 140°C results in soft nougat, while over 140°C creates a hard, brittle texture. Precision is key.
- → How should I store hojicha nougat?
Wrap individual pieces in parchment or cellophane and store in an airtight container at room temperature for up to one week. Avoid refrigeration as it can alter the chewy texture.
- → Do I need a stand mixer?
While a stand mixer makes the process easier, you can use a handheld electric mixer with similar results. Just ensure it can handle continuous beating for several minutes.