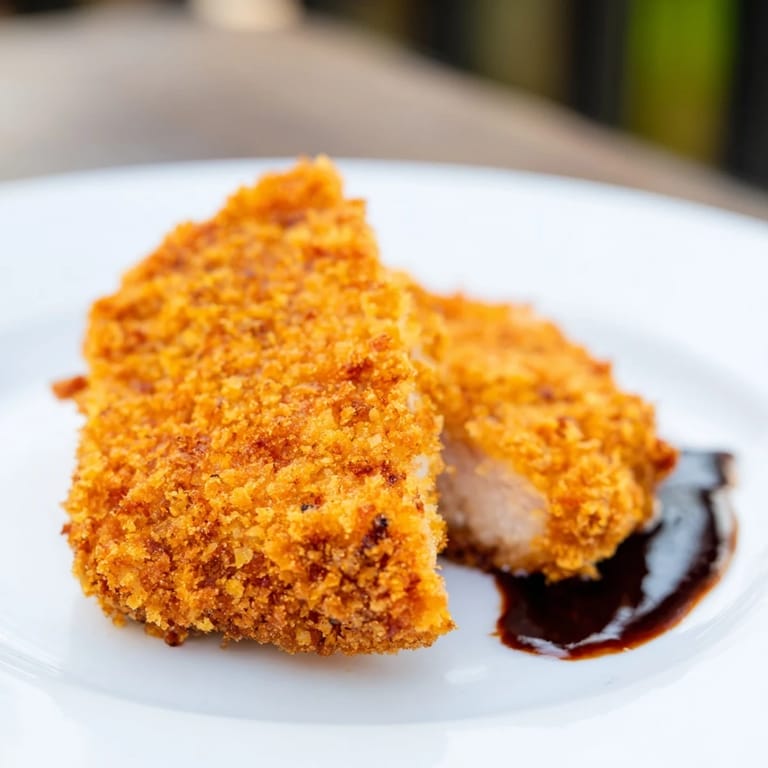
 Pin It
 My neighbor Kenji watched me fumble through my first attempt at chicken katsu with the kind of patient amusement only a Japanese grandmother could muster. I'd skipped pounding the chicken and ended up with uneven, half-raw centers beneath a gorgeous golden crust. She didn't say much, just handed me her meat mallet and a knowing smile. That night I learned that some shortcuts aren't worth taking, and that the sound of panko hitting hot oil is one of the most satisfying in any kitchen.
I started making this every Sunday when my kids declared it their favorite dinner, better even than takeout. There's something about the ritual of setting up the breading station, the three bowls in a row like a little assembly line, that turns cooking into something almost meditative. My youngest always asks to press the panko onto the chicken, her small hands patting down every crumb with the focus of a surgeon. We've made it so many times now that I don't even measure the sauce anymore, just pour and taste until it hits that perfect sweet-tangy balance.
Ingredients
- Boneless, skinless chicken breasts: The key is pounding them to an even half-inch thickness so they cook through at the same rate as the crust browns, no raw centers or burnt edges.
- Salt and black pepper: Season generously before breading because the panko itself is unseasoned, and this is your only chance to flavor the meat directly.
- All-purpose flour: The flour layer helps the egg stick, which helps the panko stick, it's the glue that holds the whole operation together.
- Large eggs: Beating them with a tablespoon of water thins the mixture just enough to coat evenly without clumping.
- Panko breadcrumbs: Japanese panko is airier and flakier than regular breadcrumbs, and that texture is what gives katsu its signature crunch.
- Vegetable oil: You only need about an inch in the pan for shallow frying, which is less messy and wasteful than deep frying but gives the same golden results.
- Ketchup: The base of tonkatsu sauce, it adds sweetness and body that balances the sharper flavors.
- Worcestershire sauce: This brings a deep, tangy umami that makes the sauce taste complex and layered.
- Soy sauce: A little saltiness and richness that ties the sauce to its Japanese roots.
- Mirin: The gentle sweetness of mirin is more delicate than sugar alone, but honey works in a pinch if you don't keep mirin on hand.
- Dijon mustard: Just a teaspoon adds a subtle sharpness that keeps the sauce from being too sweet.
- Sugar: Balances the acidity and rounds out the flavors so nothing tastes too harsh.
Tired of Takeout? 🥡
Get 10 meals you can make faster than delivery arrives. Seriously.
One email. No spam. Unsubscribe anytime.
Instructions
- Pound the chicken evenly:
- Place each breast between two sheets of plastic wrap and use a meat mallet or rolling pin to gently pound it to about half an inch thick, working from the center outward. Season both sides with salt and pepper, then set aside while you prep the breading station.
- Set up your breading bowls:
- Arrange three shallow dishes in a row: flour in the first, beaten eggs mixed with water in the second, and panko in the third. This assembly line makes the process fast and keeps your hands from turning into breaded claws.
- Coat each cutlet:
- Dredge a chicken breast in flour and shake off the excess, dip it into the egg mixture until fully coated, then press it into the panko on both sides. Pat the breadcrumbs gently so they adhere well, then set the breaded cutlet on a plate.
- Heat the oil properly:
- Pour about an inch of vegetable oil into a large skillet and heat over medium until it shimmers and a panko crumb dropped in sizzles immediately, around 340°F if you have a thermometer. Don't rush this step or the coating will absorb oil and turn greasy instead of crisp.
- Fry until golden:
- Carefully add one or two cutlets to the hot oil without crowding the pan, and fry for 3 to 4 minutes per side until deep golden brown. Transfer to a wire rack or paper towel-lined plate to drain while you fry the remaining chicken.
- Whisk the sauce together:
- In a small bowl, combine ketchup, Worcestershire sauce, soy sauce, mirin, mustard, and sugar, whisking until smooth and glossy. Taste and adjust sweetness or tang to your preference.
- Slice and serve:
- Let the chicken rest for a minute, then slice each cutlet into strips and arrange on a plate with shredded cabbage, lemon wedges, and a small dish of tonkatsu sauce for dipping. Serve with steamed rice if you want a full meal.
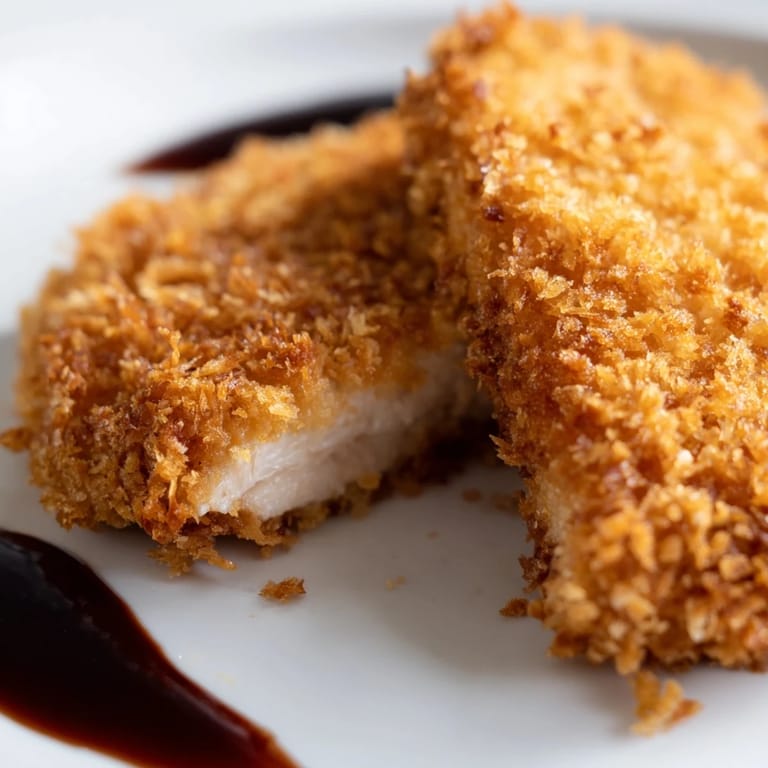 Pin It
 The first time I served this to friends, I sliced the katsu at the table and watched their faces light up when they saw the juicy interior under that crackling crust. Someone said it tasted like the best chicken tender they'd ever had, but grown up, and I couldn't stop smiling. It's become my go-to dish when I want to show off just a little without actually stressing, because the results always feel more impressive than the effort.
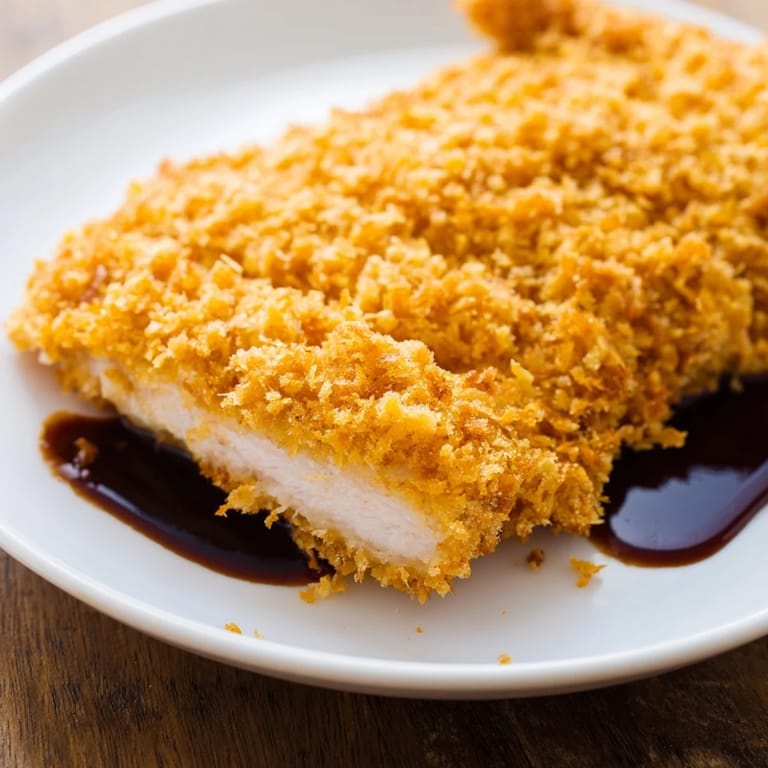
Getting the Crunch Just Right
The secret to that audible crackle when you bite into katsu is all in the panko and the frying temperature. Regular breadcrumbs turn dense and compact when fried, but panko's jagged flakes create air pockets that stay light and shatter when you bite down. I learned to listen for the oil: when it's at the right heat, the chicken should sizzle enthusiastically the moment it touches the pan, not sputter weakly or pop violently. If you're not sure, drop in a single panko crumb and watch it dance and brown within seconds.
Making It a Meal
In Japan, katsu almost always comes with a pile of finely shredded cabbage, which adds a fresh, crisp contrast to the rich fried chicken. I use a sharp knife to slice the cabbage as thin as I can manage, sometimes soaking it in ice water for extra crunch. A bowl of steamed short-grain rice and a little miso soup on the side turns this into a full meal that feels both comforting and complete. Some nights I'll add pickled vegetables or a simple cucumber salad just to round out the table.
Variations and Swaps
If you want to try the traditional version, swap in pork loin cutlets and follow the exact same method, though pork takes an extra minute or two per side. Leftover katsu makes an incredible sandwich the next day, tucked into a soft roll with cabbage and extra sauce, and it's one of the few fried foods that reheats well in a toaster oven. You can also use this same technique for fish fillets or even thick slices of eggplant if you're looking for a vegetarian option.
- Try adding a pinch of garlic powder or paprika to the flour for a subtle flavor boost in the crust.
- If you don't have mirin, a teaspoon of honey thinned with a splash of water works just as well in the sauce.
- For a spicier kick, stir a little sriracha or chili oil into the tonkatsu sauce before serving.
 Pin It
 Every time I make chicken katsu, I think about Kenji's patient smile and the way she taught me without making me feel foolish. Now it's one of those recipes I can make with my eyes closed, and I love that I get to pass it on to anyone who asks.
Recipe FAQs
- → How thin should I pound the chicken breasts?
Pound the chicken to approximately 1/2 inch thickness. Even thickness ensures uniform cooking—thinner areas won't dry out while thicker sections finish cooking.
- → What's the ideal oil temperature for frying?
Heat the oil to 170°C (340°F). Use a thermometer to monitor temperature carefully. Oil that's too cool creates greasy, soggy cutlets; too hot and the exterior burns before the chicken cooks through.
- → Can I use boneless chicken thighs instead of breasts?
Yes, boneless thighs work wonderfully and stay more moist than breasts. They may require slightly longer frying time due to thickness, so adjust accordingly until golden brown and cooked through.
- → How do I prevent the panko coating from falling off?
Press the panko gently but firmly onto the egg-coated chicken. Let breaded cutlets rest for 10 minutes before frying—this helps the coating adhere better. Avoid moving them too soon in the oil.
- → Can I make the tonkatsu sauce ahead of time?
Absolutely. The sauce keeps refrigerated for up to two weeks. Make it the day before and let flavors meld. Simply whisk ingredients together shortly before serving, or warm gently if preferred.
- → What's a good dairy-free substitute if I don't have mirin?
Honey works as a one-to-one substitute for mirin. Brown sugar or maple syrup also add sweetness and depth. The sauce will taste slightly different but remain delicious and balanced.